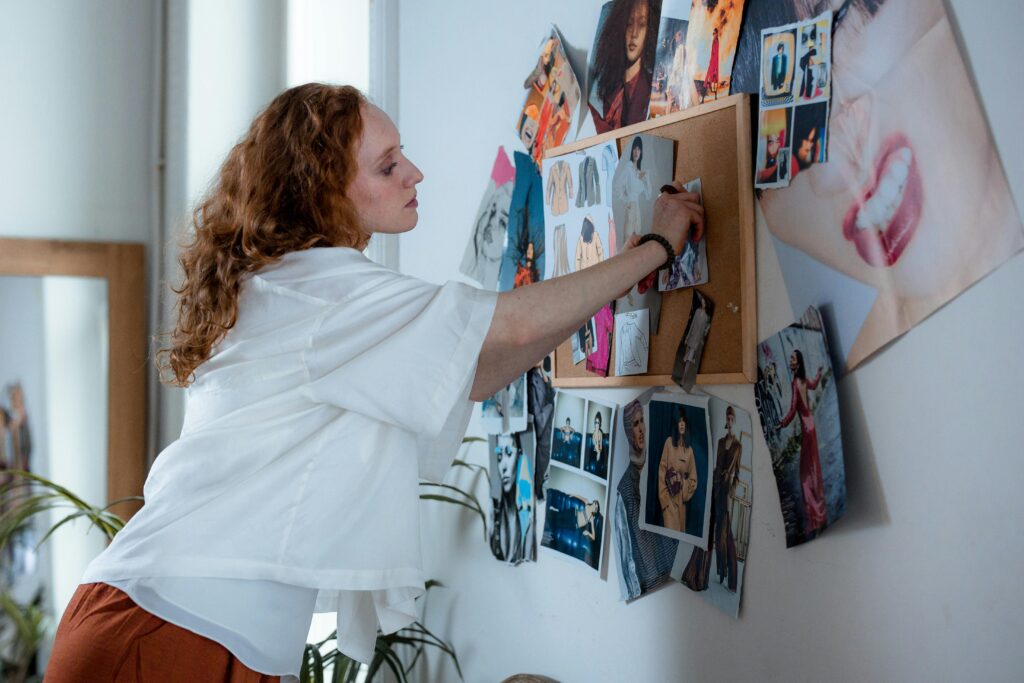
A photo collage wall is a wonderful way to showcase your favorite memories and add a personal touch to your home decor. It allows you to display photographs, art, and special moments in a creative and visually appealing way. In this blog post, I will guide you on how to create a stunning photo collage wall that reflects your style and personality.
Choosing the Right Wall
The first step to creating a photo collage wall is choosing the right wall in your home. Look for a prominent space where the collage can be appreciated, such as in the living room, hallway, or above a couch. Make sure the wall has enough space to accommodate various frame sizes and arrangements.
Consider the color and texture of the wall. If the wall is a neutral color, it provides a great backdrop for colorful frames and photos. If the wall has a bold color or pattern, you might want to choose frames that contrast nicely to make your collage stand out.
Selecting Frames
Next, it’s time to select the frames for your collage. You can use different-sized frames to create an interesting visual effect. Mix and match various styles, such as modern, vintage, or rustic, to add character to your collage.
When choosing frames, consider the color scheme you want to achieve. You can go for a cohesive look by selecting frames in the same color or finish, or you can create an eclectic mix by using frames of different colors and materials. Don’t be afraid to experiment; this is your chance to showcase your creativity!
Gathering Your Photos
Once you have your frames ready, it’s time to gather the photos and artwork you want to display. Choose a mix of personal photos, artwork, and other decorative elements that reflect your personality and interests.
You can use family photos, travel snapshots, or artistic prints. Consider including quotes or sayings that inspire you. This can add depth to your collage and make it more meaningful.
When selecting photos, think about the colors and tones. Try to choose images that complement each other. For example, if you have a lot of colorful photos, consider using frames that are neutral to balance them out.
Planning the Layout
Before you start hanging the frames on the wall, it’s important to plan the layout. Lay the frames out on the floor to get an idea of how they will look together. Experiment with different arrangements until you find one that feels right.
You can create a symmetrical arrangement for a clean and organized look, or a more casual, asymmetrical layout for a relaxed vibe. Make sure to consider the spacing between the frames; keeping them evenly spaced will create a polished look.
Marking the Wall
After you have finalized the layout, it’s time to mark the wall. Use painter’s tape to outline the area where your collage will go. This will give you a visual guide as you hang the frames.
You can also use a pencil to mark where each frame will go, ensuring you get the placement just right. If you are using different-sized frames, it’s helpful to mark the center point of each frame on the wall to make hanging easier.
Hanging the Frames
Now comes the fun part: hanging the frames! Start with the largest frame in your arrangement and hang it first. This will act as the focal point of your collage. Once the largest frame is up, work your way outwards with the other frames, following your marked layout.
Make sure to use the appropriate hardware for your frames, especially if they are heavy. Use wall anchors or hooks to ensure they are secure. Take your time while hanging the frames to make sure they are straight and properly aligned.
Adding Decorative Elements
To enhance your photo collage wall, consider adding decorative elements such as wall art, mirrors, or shelves. These can break up the frames and add visual interest to the overall display.
You can also incorporate plants or small decorative items on the shelves to create a layered look. Using a mix of frames and decorative elements will add depth and personality to your collage wall.
Personalizing Your Collage
One of the best things about a photo collage wall is that you can personalize it to reflect your style. You can change the photos and frames whenever you like, keeping the display fresh and interesting.
Consider adding seasonal photos or changing out artwork to match different times of the year. This way, your collage will always feel new and exciting.
Maintenance and Care
Once your photo collage wall is complete, it’s essential to maintain and care for it. Dust the frames regularly to keep them looking fresh. If any photos fade over time, consider replacing them with new ones.
Take a moment to appreciate your collage and the memories it holds. It can serve as a beautiful reminder of special moments in your life and add warmth to your home.
Inspiration for Your Photo Collage Wall
If you’re looking for inspiration, consider searching online for photo collage ideas. Many websites and social media platforms, like Pinterest and Instagram, have a wealth of creative ideas for arranging frames and photos.
You can also visit home decor stores to see how they display photo collages and gather ideas for your own home. Don’t hesitate to take inspiration from friends or family who have created their collage walls.
Creating a photo collage wall is a fun and rewarding project that allows you to showcase your memories and personal style. By choosing the right wall, selecting frames, planning the layout, and adding decorative elements, you can create a beautiful and unique display in your home. Enjoy the process and let your creativity shine through


